Home Education~Ministry Moments~Hearth and Home
Showing posts with label DIY. Show all posts

Thursday, July 17, 2014

The Big Reveal: House Exterior Before and After!


I'm so excited to share with you our new home!  We have a long way to go on the inside...but the outside is pretty much DONE!  After lots of paint and bush-trimming...TADA!


The before...as in before we even moved in!

Those shaker shingles really needed attention!

But we could see the potential!
Testing out the color!  (Crazy: The painter had some paint leftover from a previous job...it was the EXACT color I had already picked out!)  We used Knight's Armor by Olympic.


I painted the shutters.  I took them to Home Depot and asked if I could paint them with a paintbrush and they said that would work...so I painted all 30 or so of them.  (With a little help from my son!)  Just took 2 days.

All done.  I painted them an "off black" color.  I didn't want jet black.

All done!  We were so pleased!  Bushes whacked, shutters like new, shingles painted, lights updated!


Friday, July 11, 2014

Spray Painting Exterior Lights...Like New Again!


These ugly brass lights just won't do.  But we didn't want to fork over the money for new ones.  A few bucks for a can of glossy black spray paint will hopefully do the trick!


Here they are on the house before it or the lights were painted.  (And before the "spaceship" light was taken down!)


What to do?  Cover the glass with painter's tape or take it all apart and then spray paint?


We chose to take it all apart. 
Oh, my goodness...so many parts!  (Next time I'm covering the glass with tape...it was a bear to put all this back together!)


BEGGING to be painted!
 
SO much better already!!!  This took about 3 different paintings to get all the sides covered well.


Ta-da!

I just love my "new lamps!"  And the spaceship light is gone!  Yeah!

Just a little bit of work and some spray paint! 


Coming soon...
Painting the shutters and the big reveal: house exterior!

Wednesday, September 25, 2013

My Little White Church

Last year while on vacation I saw a decorative "church house" in a gift shop that I just loved.  I just wasn't willing to pay $200 for it.  It was also very colorful, and the color palette in my home is a little more toned down.  So, on that same vacation I started hunting for antique pieces to incorporate into my "church house."  My plan was to collect interesting pieces over time, and then have my very handy dad make the church for me.  (He's sweet that way!)


I found two old door plates at an antique store.  I immediately knew these would be the doors to my church.  My dad just happened to have some knobs that fit inside of them perfectly!


The round metal piece was also found at the same antique store.  It is from an old Victorian lamp.  I had no idea how to use it, but bought it because I just liked it. 

 The finial on top is extra-special.  It took a year to come across the perfect piece for the steeple of my church.  This past May my family went "picking" (yes, we love watching American Pickers!) in some old buildings on the farm.  My sweet husband looked for 2 or 3 days. (He loves "picking!")  He would bring things out that looked like they might work.  Nothing really suited me until he brought out this piece.  I knew immediately it was the "piece de resistance."  It was made by my great-grandfather.  I knew because he always had a floating ring on his pieces.  I also really loved the dark color of the wood.  

The white bell was from a wedding my parents attended.

Don't you just love the roof?  My dad cut all of those pieces. Yes he did.  (Thanks, Dad!!)

The inside lights up, just like the one at the gift shop.  

 I couldn't decide about the windows until I was sitting in church one day.  (Still listening to my preacher-husband's sermon, I promise!)  I noticed the shape of the windows of our church.  I thought, "That's it!"  How special to have that incorporated into my little church.

This key was also a find the day we went "picking."  My dad says it's the "Key to the Kingdom!"

I just love my little white church.  I have it in my living room near my "wall of crosses."  I love that I didn't just buy it in a gift shop.  Each piece has a story and meaning to me.  It took over a year to bring it all together, but it was worth it.  I look forward to getting creative with it during the upcoming seasons.  Any ideas for what I could do, blog peeps?

Monday, July 1, 2013

Making Playdough~~So Easy!

     I decided to make some playdough for my 4's and 5's Sunday School Class. 
It is so easy!  I like it so much better that the kind you purchase. (And I guess one reason I can never bring myself to buy the store-bought kind is because my mom always made it for my sister and me.)  It takes just a few minutes and costs just pennies!  The clean up is really easy too....the dough in the pan is not gooey or sticky.  So rewarding!  :)


I used this basic playdough recipe.

You just dump everything in the skillet...one pan to clean!

When it looks like this, you know you're almost done. 

I always put it on wax paper, that way when you work the food coloring into the dough, it doesn't stain your counter.

I tried gel food coloring this time...it's what I had on hand.  Worked well!

Playdough is always a favorite!


Need a fun and easy activity to do with your kiddos this summer???
Make playdough together!  

Friday, June 7, 2013

Pinned it/Did it! (Felt Monogrammed Pillow)


This was the picture I pinned from Pinterest.  It is from the blog, The Sweet Survival. I just loved the simplicity of it...and it even had my initial!
 
I found the letter "P" I liked from THIS WEBSITE.  I had to enlarge it.  I used very sharp, small scissors to cut it out.  The original "pin" said to sew the letter on by machine after gluing it with felt/fabric glue.  I didn't have any glue and I was afraid my machine sewing would not turn out great, so I opted to sew it by hand.  (Plus I was reading one of my Beverly Lewis Amish books, and was feeling in the mood for doing things the old-fahioned way!)  I was happy with how the hand-sewing turned out.
 
I was making the pillow for this wingback I had recovered.  I first made the pillow with just a white front and the green fabric on the back.  I didn't like it, so I ripped out the seams and added a ruffle to match the fabric on the back (and my curtains, etc. in the living room).  Much better.  I had not made a ruffle in ages, so this was a bit of trial and error. 


I made this monogrammed pillow for about a $1!  The original pinner said she made hers for $18, which beat the Etsy price of $79.  The only thing I had to purchase was the felt. WoooHooo!


Saturday, April 6, 2013

Weekend Project: 1 Corinthians 13:13 Sign

Last weekend I had a fun time making this sign for our home. The lettering came from one of those rub-on kits you get a the craft store. I found this one on clearance months ago for just a few bucks. The letters are designed to go on the wall. I didn't think the letters would show up on mine, so I opted to make a sign instead


 My sweet daddy cut the wood for me. I painted it with acylic white paint, waited 24 hrs. and then put on the lettering. 


The fun (and kinda scary) part....pulling off the paper.
 
 
I just LOVE how it turned out!


Thursday, November 1, 2012

Trunk-A-Treat: You'll have to Use Your Imagination

 
     I think I was a little too sleepy this morning...I accidentally deleted about 1,000 photos on my sd card.  SOOOOOOOO.....all those cute pictures I took of my trunk last night at our church's Trunk-A-Treat are GONE.  :(   Here's what's left as of this morning in the back of my trunk....I hope you can still get some ideas from it.  
These were the candy packs I made for my trick-or-treaters. 
Candy is SO expensive...so instead I purchase 100 mini bags ($2 w/coupon) filled with candy,
then stapled a folded-over label.  My kids had a fun time folding them all for me.
I created these using Word and clipart.
This is sort of what my trunk looked like last night....we added lots of branches we cut around our yard/road.
I used burlap to cover the back seat.  The owls were lit from the inside and hanging up.  (I had 2 large, 2 small)
 

I made the owl from a paper bag and scrap paper.


I wore the apron...made a quick owl costume (on sale: $2.50!)
 

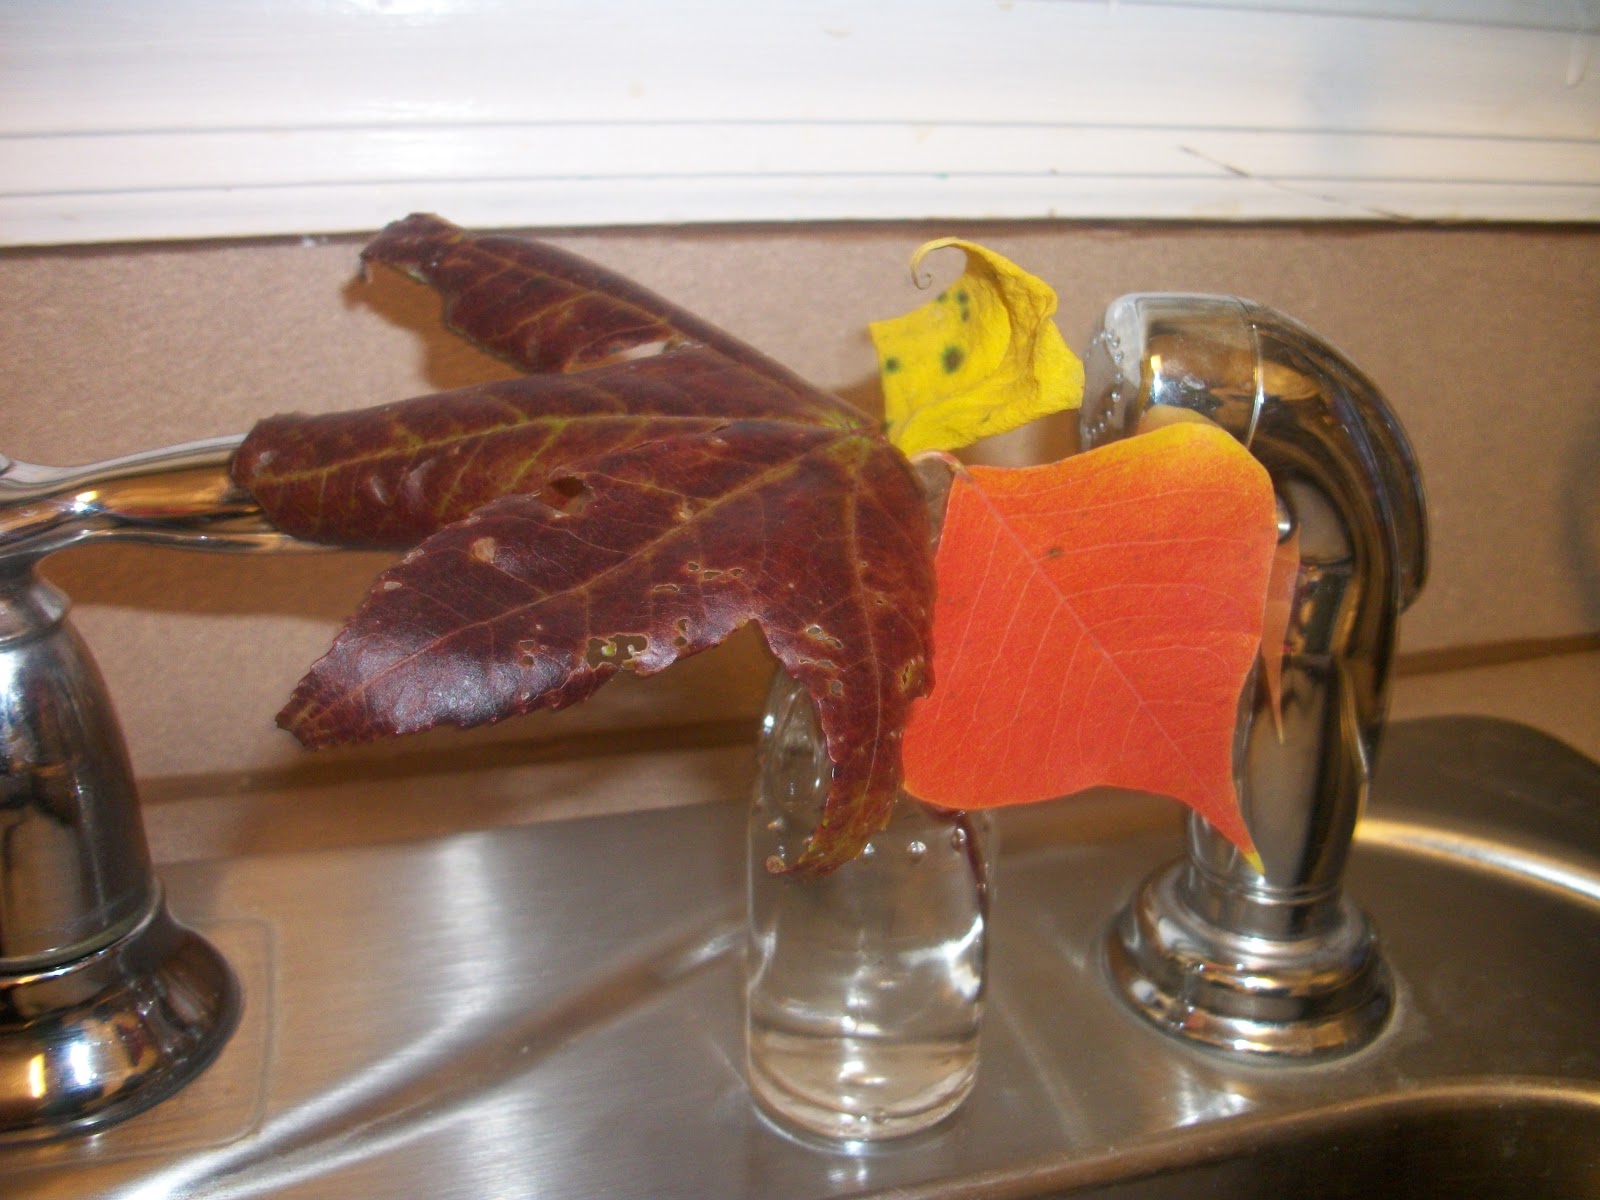
This is still intact from yesterday's fun memories.  I had such a good time collecting fall
branches with my boys...and my youngest one collected these leaves for me and put them in
a vase for me.  (The "vase" is actually a maple syrup jar from Cracker Barrell. Perfect for all
those little flowers he has picked for me.  I've had it for years!)